 |
||

|
||
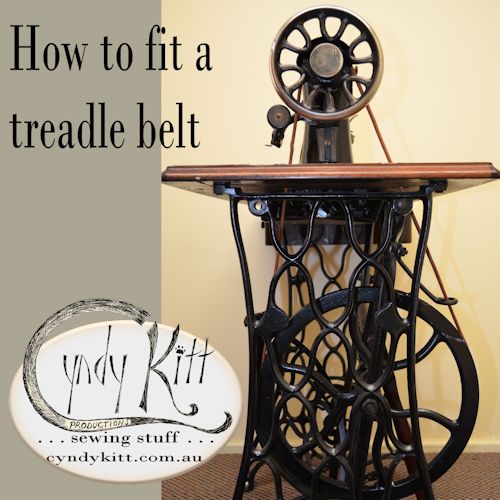
This tutorial was written with continuous tanned belting in mind and uses photos of same.Step 1. Measure your belt, it should be firm but don't make it too tight as that may make the treadle action sluggish. |
 |
|
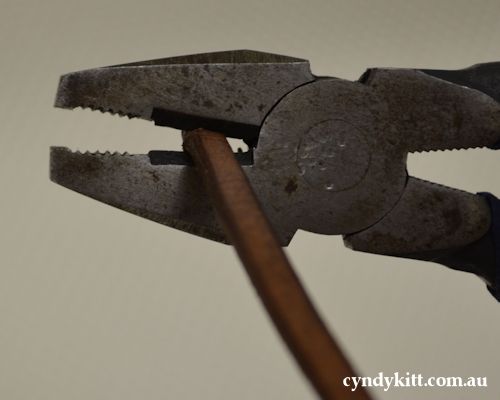
| Step 2. Cut to size. I actually used my thumbnail to mark the length in step 1, but you may feel safer marking it with a pen. Combination pliers are well suited for cutting the leather belt. |
|
|
 |
||
|
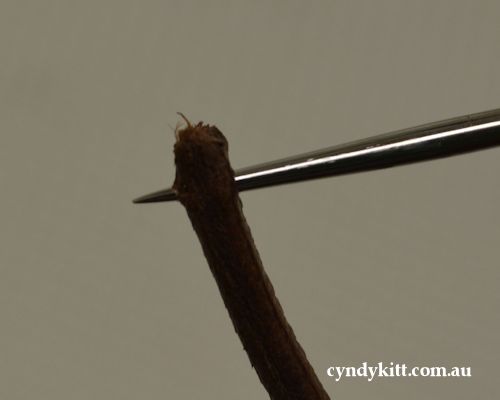
Step 3. Punch the holes. The loose staples I currently
stock are quite large, but whatever the size, you need to punch your holes
so the ends of your belt meet in the middle of the staple. I find a cheap
awl is the easiest way to make a hole in the belt.
|
 |
|
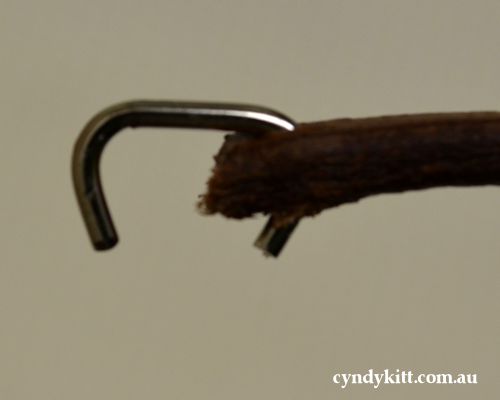
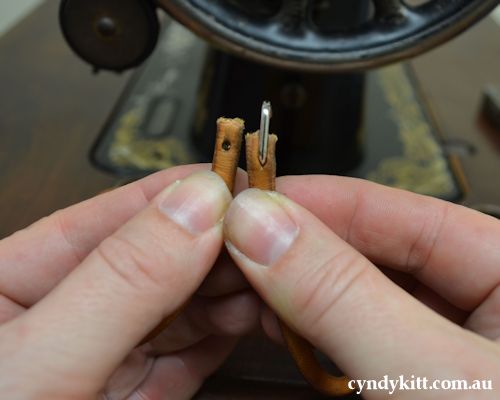
| Step 4. Poke the staple through one end of the belt. |
 |
|
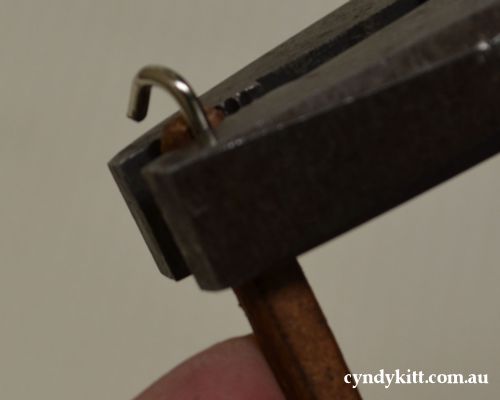
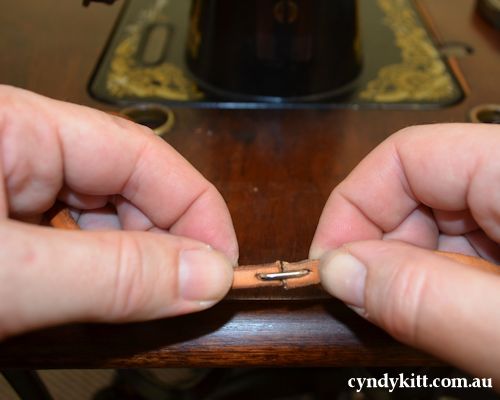
| Step 5. Squish down the staple. |
 |
|
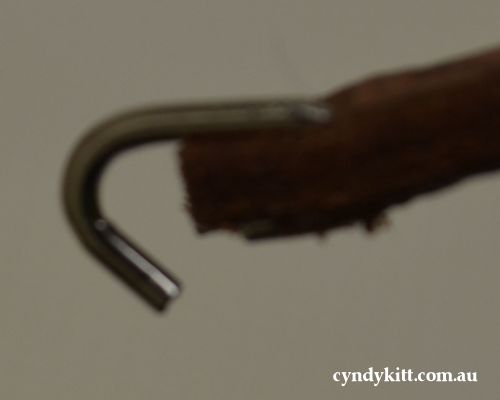
| Step 6. Not really a step, just the result of "Step 5". |
 |
|
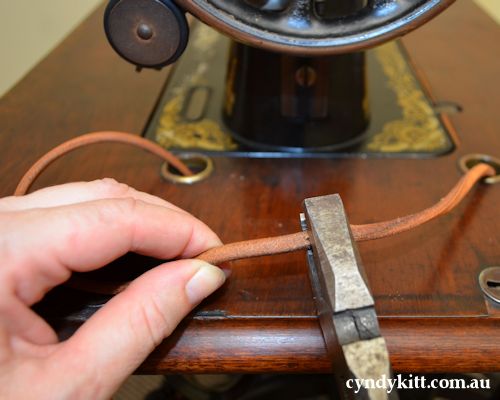
| Step 7. Your belt is ready to fit to your treadle. |
 |
|
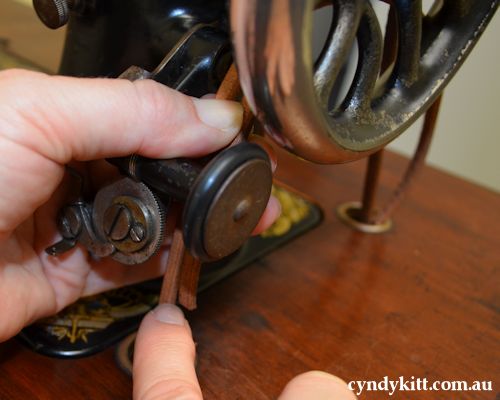
| Step 8. Loosely fit your belt, ensuring that it's threaded through all the appropriate holes (see "fitbelt.10" for how a Singer treadle mechanism should look when the belt is fitted properly) but slipped off the band wheel (AKA drive wheel) so the belt is slack. Poke the other end of the staple through the other end of the belt. |
 |
|
| Step 9. Crunch down the staple. |
 |
|
|
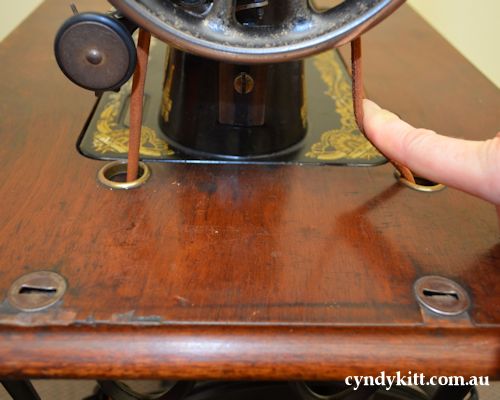
Step 10. Slip the belt onto the band wheel. After a month or two you may find the belt starts to slip when you sew because it has stretched a little and needs to be tightened by about 1cm, just ply open the staple clip the belt to its new size, punch the new hole etc. |
 |
|
|
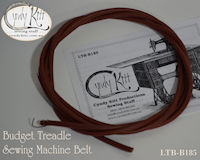
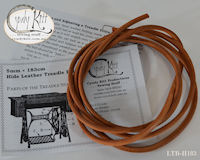
The process for fitting pre-cut budget belt is more or less the same except the staple is more light weigh and will already be fitted to one end. |
||