|
|
|
 |
|
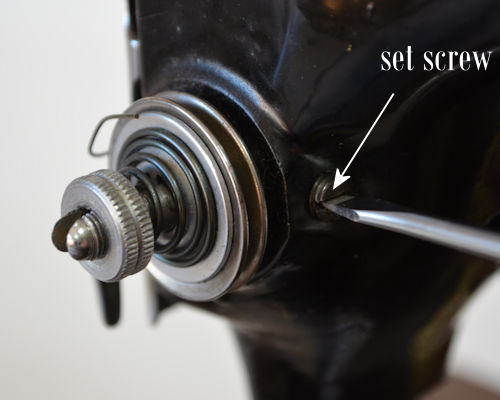 |
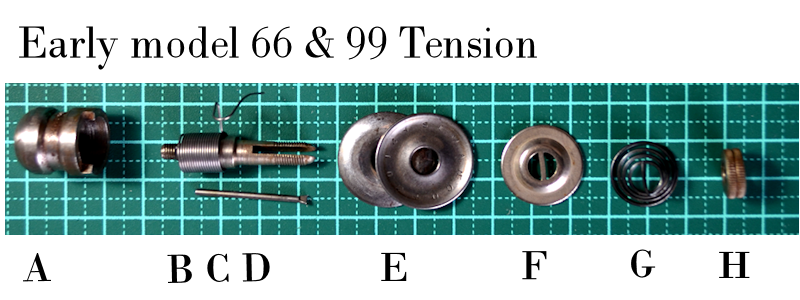
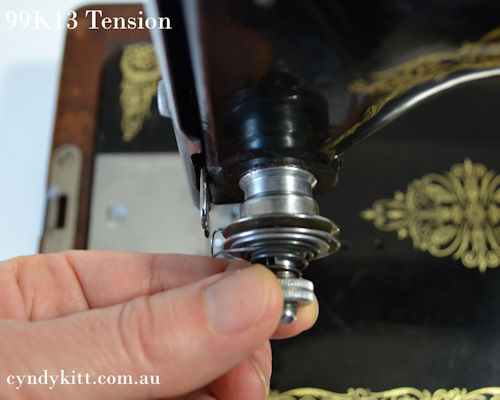
Loosen off the set screw to the side of the tension
|
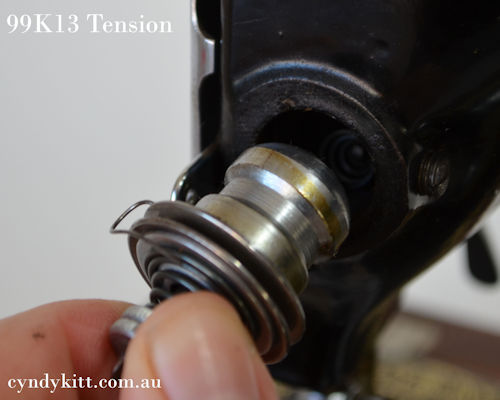 |
Remove the complete tension assembly from the machine |
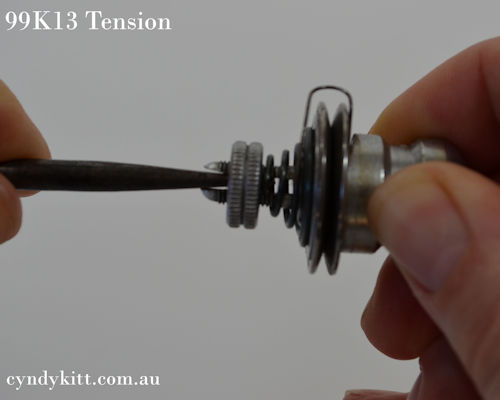 |
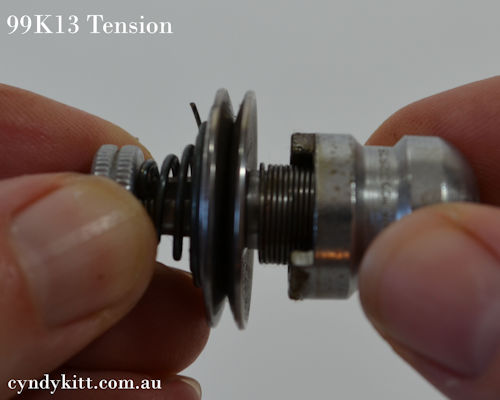
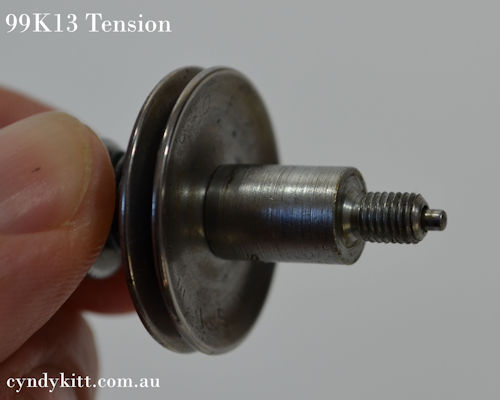
Unscrew post from regulator |
 |
|
 |
|
 |
|
 |
|
 |
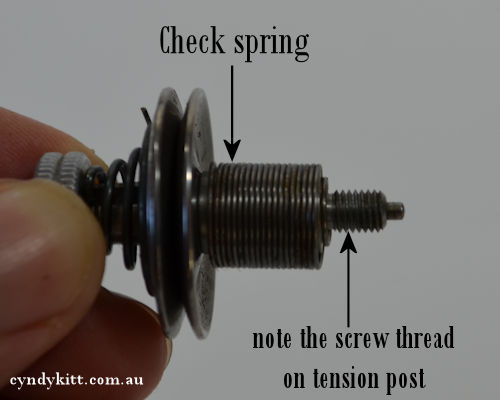
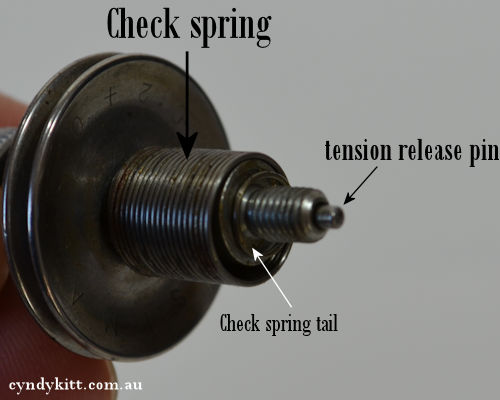
Slip the new check spring over the end of the post and reverse the process |
 |
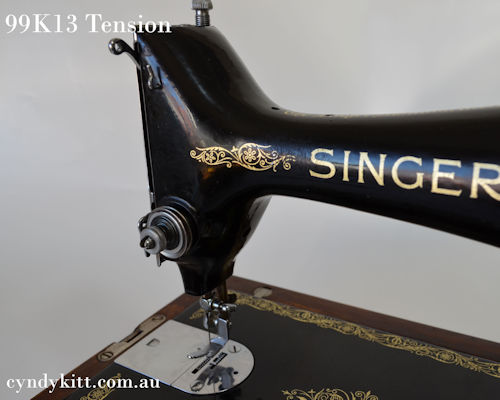
Replace the tension with the presser foot in the down position (tension release inactivated) with the check spring angled to about 11 o'clock |
 |
Tighten the set screw to the side of the tension and check the tension is released when the presser foot is raised |