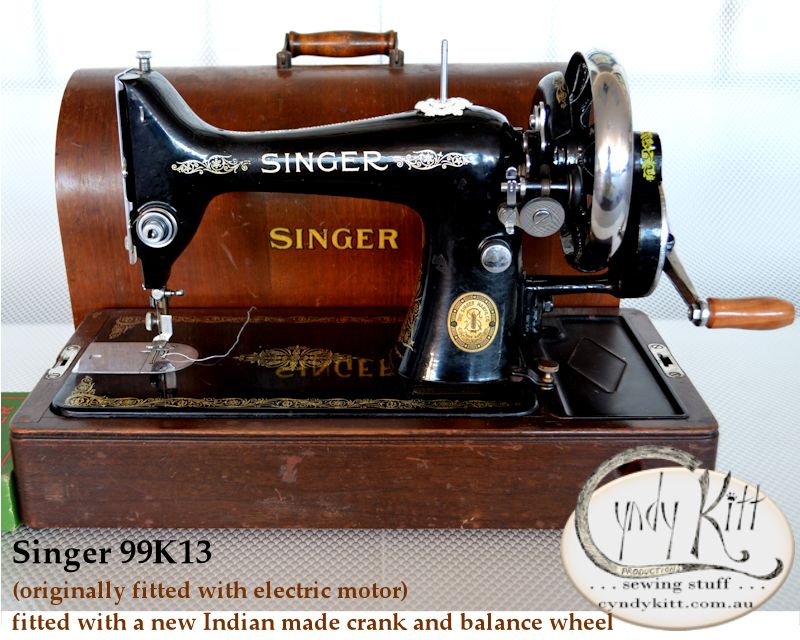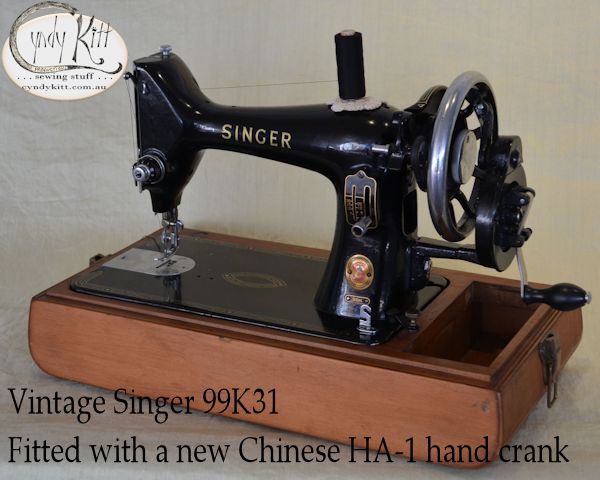
Vintage sewing machines are undeniably brilliant; they are simple, solid
and built to last . . . well sadly that is only partially true if your
pre 1965 machine is powered by its original externally mounted electric
motor.
|
|
|
|
|
 |
|
|
|
|
|
|
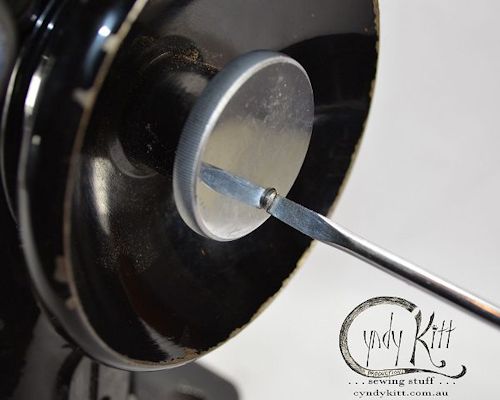
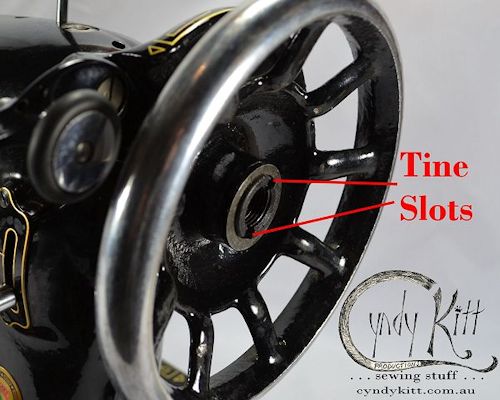
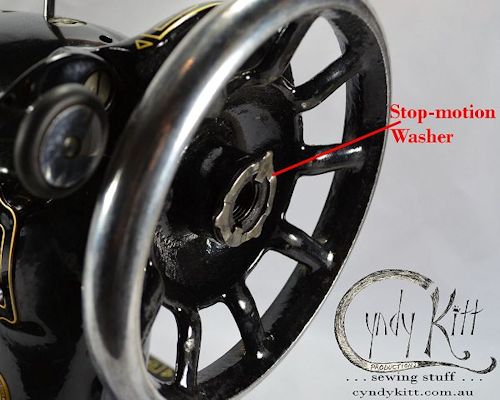
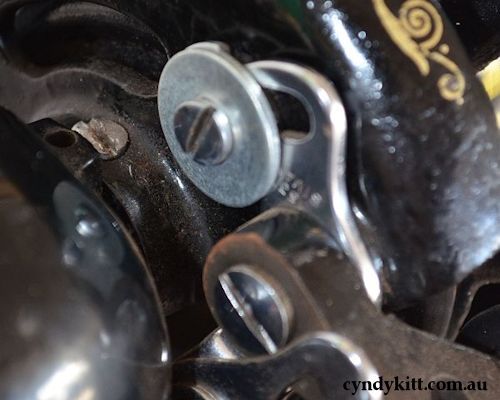
Balance WheelLoosening the stop-motion screw allows the balance wheel to run free,
allowing bobbins to be wound without operating the stitching mechanism.
To loosen the wheel, hold it with the left hand, and with the right hand
turn the stop motion screw anti-clockwise, as shown in Fig. 1. |
|
|
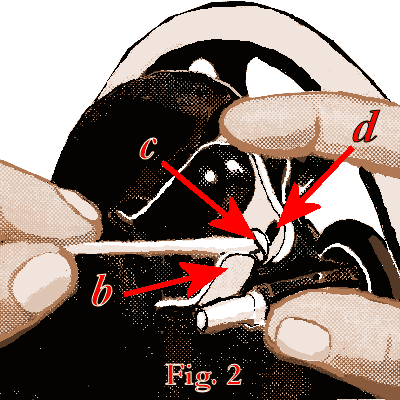
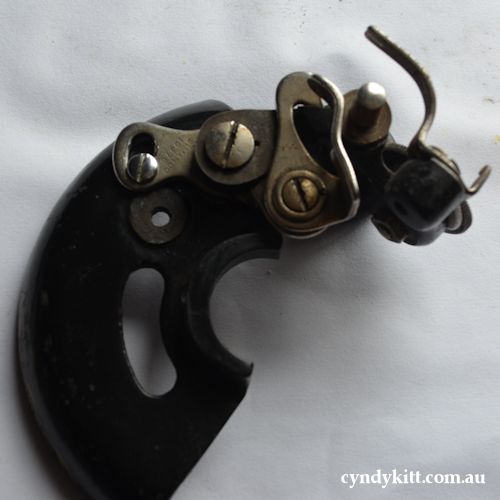
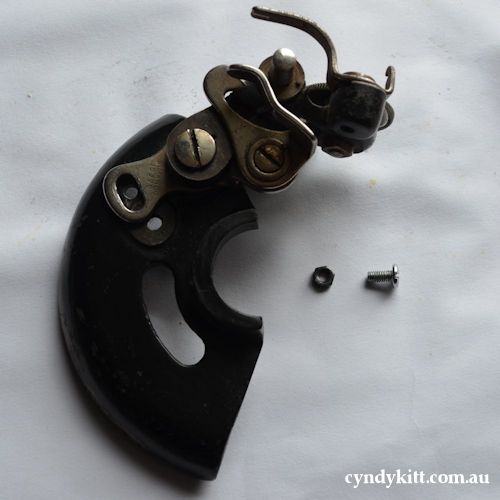
After swapping to a spoked balance wheel, the pulley tire which pushes against the ledge of the balance wheel may require adjustment; press down the winder til the latch (b, Fig 2) drops down and holds it, then loosen the screw (c, Fig 2). With a forefinger push back the upper end of the slotted plate (d, Fig 2) as far as it will go and with a thumb, press the winder against the ledge of the wheel; tighten the screw (c, Fig 2) and release the latch.
|
|
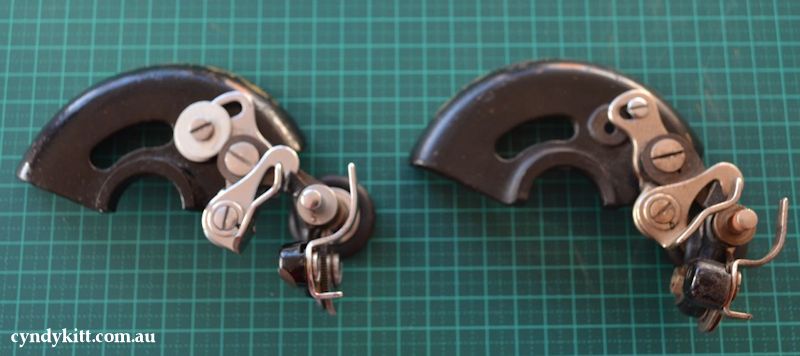
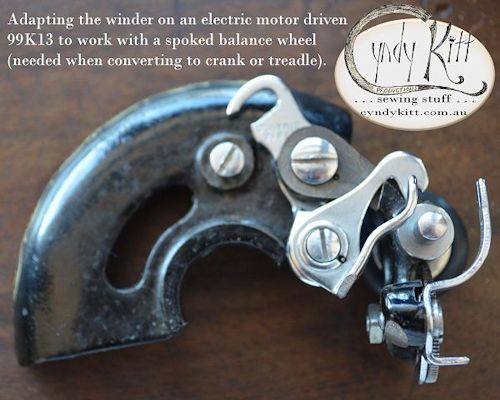
Some 66 and 99 class machines originally sold as electric powered machines will require modification to the winder to function properly with the spoked wheel |
|
 |
|
 |
|
Alternative Method |
|
 |
|
|
|
|
 |
|
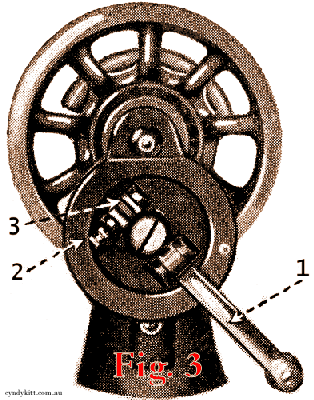 |
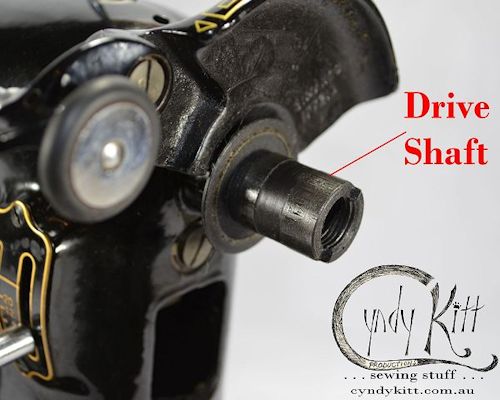
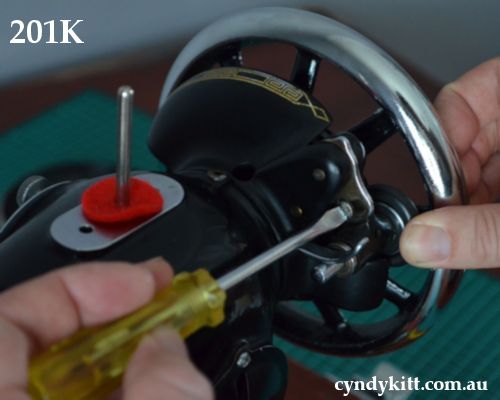
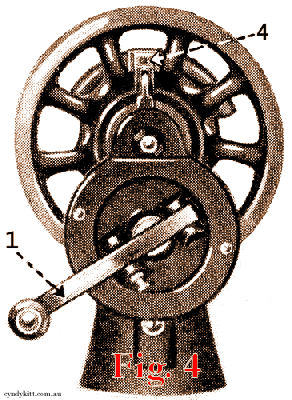
The Hand Crank AttachmentThe crank mechanism is attached to the body of the machine with the same
bolt which a motor would be attached. |
 |
To Operate the Hand CrankTighten the balance wheel and place a piece of material under the presser foot. Then lower the latter by means of the lifter. Now turn the handle away from you to work the machine, without its being threaded, until you are accustomed to guiding the material with the left hand. |
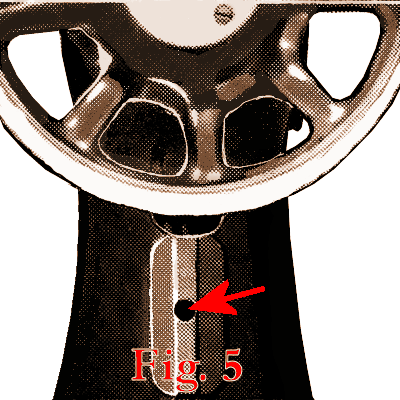 |
The bolt holeHandcranks and motor brackets are both fitted to the pillar of a machine using this bolt hole. While the position of this hole is important for the function of the crank (4"/10cm directly below the centre of the drive shaft) this is less crucial for fitting the motor.
|
The MotorDouble Insulated Domestic Sewing Machine Motor
|
|
Motor Specifications:230v (suitable 220-240v), 90W, 0.4 Amps with the foot controller giving
variable RPM (max 6000 RPM). |
|